Immobilier

Introduction
Staging your home for sale photos is a crucial step in today’s competitive real estate market. With most buyers browsing properties online first, your listing photos often make the first—and sometimes only—impression. How you present your home in these photos can significantly impact buyer interest, the number of showings, and ultimately the final sale price.
This 2026 guide will walk you through how to stage a home for sale photos effectively, helping your property stand out and attract more buyers.
Why Staging for Photos Matters More Than Physical Staging Today
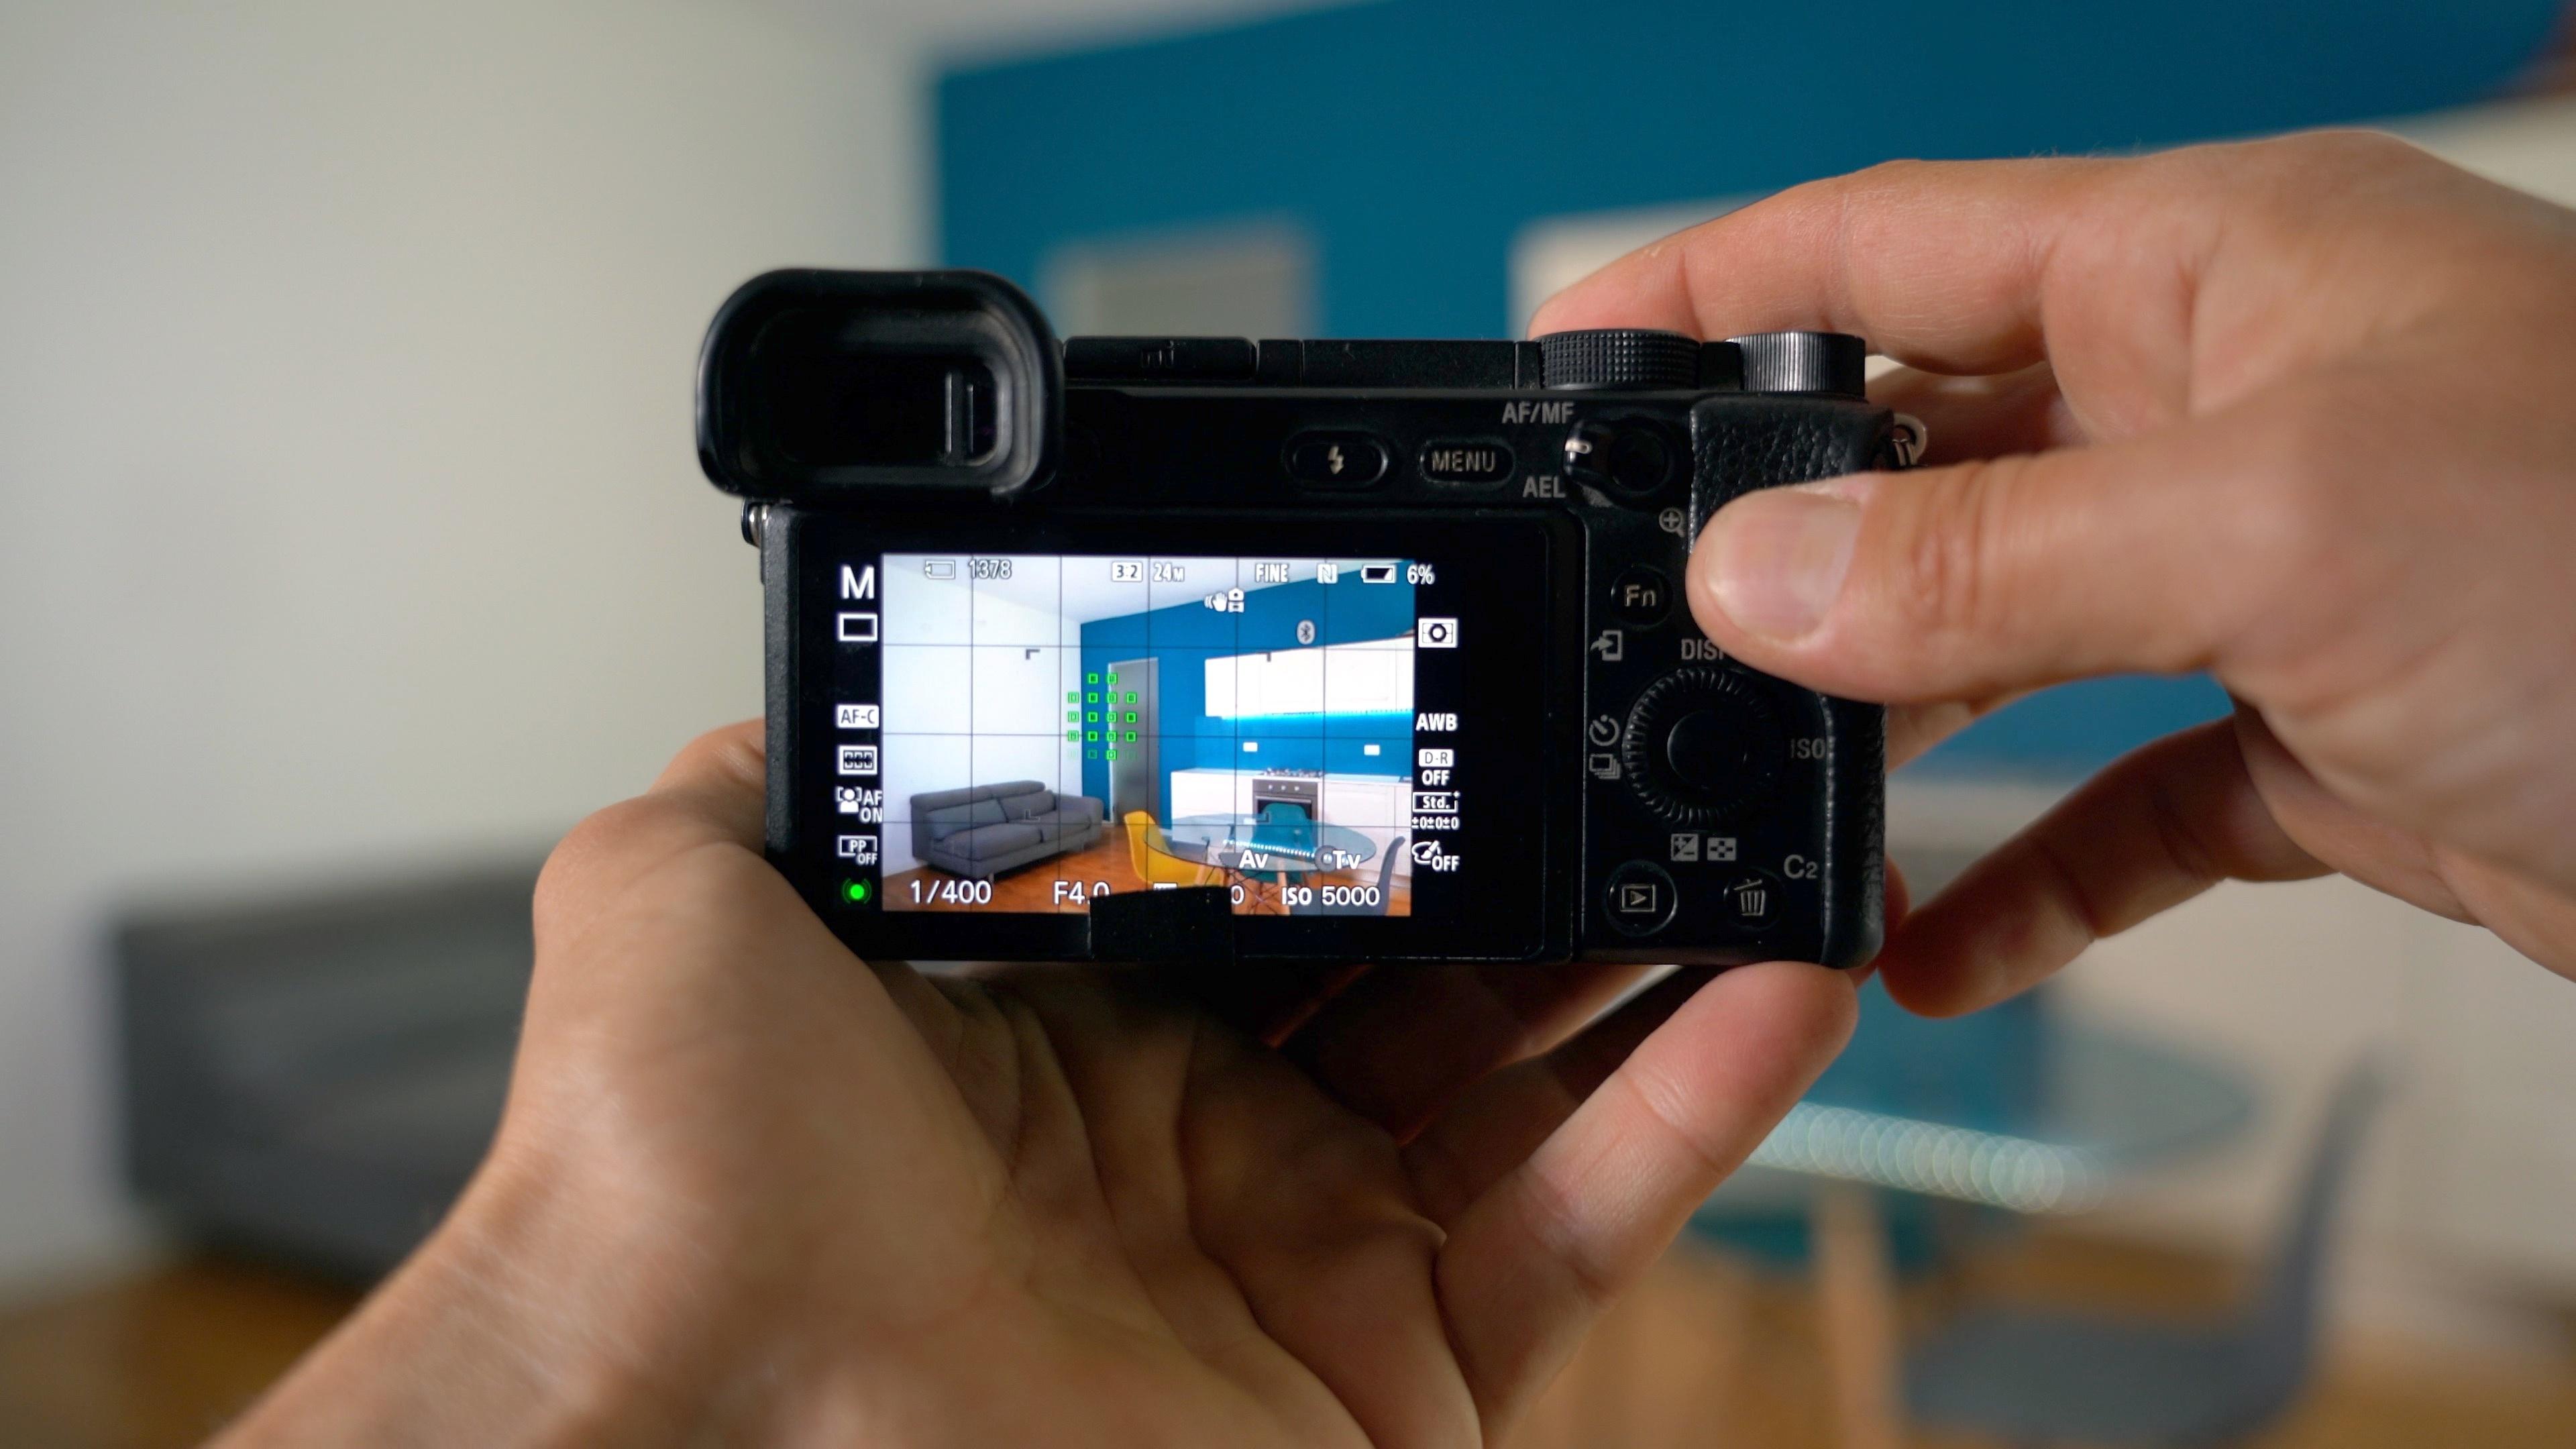
Today’s buyers don’t walk into homes first. They scroll through listings. Your photos decide whether they click or move on. A well-staged home for photography helps your listing stand out and creates a strong first impression before any visit happens.
Platforms like Casapic also favor high-quality visuals. Clean, bright, and well-composed images are more likely to get visibility. That means more views and more potential buyers.
In markets like Switzerland, expectations are higher. Buyers look for listings that feel polished, spacious, and move-in ready. If your photos don’t reflect that, you risk losing interest early.
The bottom line is simple. Staging for photos is not just about looks. It directly affects how fast your property gets attention. When you combine smart staging with strong photography, your home performs better online.
How to Stage a Home for Sale Photos? (Step-by-Step)
Step 1 – Declutter Before Listing Photos
Remove all personal items such as family photos, religious items, and everyday items. Decluttering is essential to create a neutral tone that allows potential buyers to envision their own belongings in the space. Simplify every surface by removing unnecessary items like small appliances, chopping boards, and cleaning products. A clutter-free home feels more spacious and inviting.
Step 2 – Deep Clean Like a Buyer Is Visiting
A deep clean sends a strong message that your home has been well cared for. Clean glass, floors, mirrors, and reflective surfaces to avoid dark spots or streaks that can distract in high-resolution real estate photos. Don’t forget to polish taps and mirrors in bathrooms and clean kitchen countertops thoroughly.
Step 3 – Fix What the Camera Will Highlight
Small damages such as chipped paint, loose door handles, or worn flooring look worse in photos than in person. Repair these issues before the photography session to ensure your home looks its best in every shot.
Step 4 – Set Up Lighting for Real Estate Photography
Maximize natural light by opening all blinds, curtains, and shades. Replace any burned-out or low-wattage light bulbs with brighter, warm-toned bulbs to avoid dark corners and create a welcoming atmosphere. Turn on all lights during the photo shoot, including lamps and ceiling fixtures, to brighten the entire space and eliminate shadows.
Step 5 – Add Simple, Neutral Styling
Keep styling minimal but warm to appeal to many buyers. Use neutral tones for furniture and décor to create a clean, modern look. Consider adding fresh flowers or a bowl of fresh fruit as subtle pops of color that draw attention without overwhelming the space.
Room-by-Room Guide to Staging for Sale Photos
Living Room: Make It Feel Open and Inviting
Arrange furniture to create an open layout that encourages flow and conversation. Remove unnecessary furniture and decorations to maximize space. Plump cushions and add a cozy throw to enhance comfort. Use mirrors to reflect natural light and brighten dark spots. Ensure TV and computer screens are off and out of sight.
Kitchen: Clean, Clear, and Functional
Clear countertops of all but one or two small appliances. Remove fridge magnets, children’s drawings, and other personal items from appliances. A clean, clutter-free kitchen photographs much better and makes the space feel larger. Add fresh flowers or a bowl of fresh fruit to create a welcoming focal point.
Bedroom: Calm, Neutral, Hotel-Like
Make all beds with neutral-toned bedding that complements the room. Remove personal items and unnecessary furniture to create a spacious feel. Keep secondary bedrooms tidy but simple, as these rooms often receive less attention but still impact overall appeal.
Bathroom: Fresh and Minimal
Remove all personal hygiene items, including cleaning supplies, shampoo bottles, and food bowls for pets. Polish fixtures and mirrors until they gleam. Keep countertops clear and add neatly folded towels for a hotel-like feel.
Exterior: First Impression That Drives Clicks
Enhance curb appeal by mowing the lawn, trimming hedges, and removing garden tools, hoses, and trash bins. Clean patios, porches, and decks, removing unnecessary outdoor furniture covers. Add a few potted flowers or a decorative lantern to brighten outdoor spaces. Ensure the front door area is tidy and inviting, as it’s often the first photo buyers see online.
How to Stage a Home on a Budget (That Still Looks Premium)
You don’t need a big budget to get strong listing photos. What matters is how the space reads on camera. Buyers are not judging your furniture. They are judging space, light, and layout.
Start with layout, not décor
Rearranging furniture can instantly make a room feel larger and more functional. Pull bulky items away from windows, create clear walking paths, and remove anything that blocks the view. In many cases, taking one piece out of the room improves the photo more than adding anything new.
Use what you already have, but edit it hard
Keep only a few items per area so the space feels clean and intentional. If something is missing, borrow or rent selectively. A simple coffee table setup, neutral bedding, or a floor lamp can elevate the entire shot without adding real cost.
Put your effort where it pays off
Living rooms, kitchens, and the main bedroom are the decision-makers in most listings. If these spaces look bright, clean, and balanced, buyers will overlook less critical areas.
Be careful with upgrades
Small fixes like fresh paint touch-ups, better lighting bulbs, or replacing worn textiles deliver more return than expensive renovations. Bold décor, strong colors, or trendy pieces often don’t translate well in photos and can limit appeal.
Think in terms of “photo zones”
Every room should have one clear angle that sells it. Stage that angle first. You don’t need to perfect the entire space, just the parts that will be photographed.
Pro tip: If the property is empty or the layout is hard to visualize, virtual staging is a practical option. It helps buyers understand scale and function while keeping costs low. In markets like Switzerland, just make sure the result stays realistic and aligned with the actual space to maintain trust.
Done right, budget staging is not about spending less. It is about focusing only on what actually improves how your home looks online.
9 Staging Tips for Photography That Instantly Improve Listings
Staging Tips for Photography
When it comes to how to stage a home for sale photos, the goal is simple. Make your space easy to understand, bright, and appealing within seconds. Buyers don’t analyze listings deeply. They scan. If your photos feel clean and clear, you win the click.
Here’s a quick, practical home staging checklist for photos before we break it down:
Open up space by removing extra furniture
Keep colors neutral for better lighting
Add light layers for depth
Use mirrors to enhance space
Define each room clearly
Declutter before listing photos
Adjust layout for camera angles
Keep a consistent style
Turn off screens and check reflections
1. Open Up the Layout to Show More Space
One of the most effective staging tips for photography is also the simplest. Remove, don’t add. If a room feels tight, take one piece out. Clear pathways and visible floor space make rooms look larger in listing photos.
2. Keep Colors Neutral So Light Works for You
Photos compress contrast. Dark or bold colors absorb light and make rooms feel heavier. You don’t need to repaint everything, but simplify what’s visible. Neutral bedding, light curtains, and uncluttered walls help the camera capture brightness more evenly.
3. Add Depth Without Adding Clutter
Empty rooms can look cold, but over-decorated rooms look messy. The sweet spot is light layering. A rug under the sofa, two or three cushions, a simple throw. These create depth so the image doesn’t feel flat, especially in wide-angle shots.
4. Use Mirrors to Fix Common Photo Problems
If a room feels dark or narrow, a mirror can solve it instantly. Place it where it reflects light or open space, not clutter. This is one of the easiest ways to improve a shot without changing the room itself.
5. Make the Purpose of Each Room Obvious
Buyers scroll fast. If they can’t tell what a room is, they lose interest. Each photo should clearly show function. A bed centered in the frame, a dining table set simply, a sofa facing a focal point. No confusion, no mixed signals.
6. Declutter Before Listing Photos
Decluttering is not optional. It is the foundation of all home staging checklists. Remove personal items, cables, small appliances, and anything that distracts. The cleaner the space, the better it performs in photos.
7. Stage for the Camera Angle, Not Daily Living
One of the most overlooked staging tips for photography is adjusting for the lens. Shift furniture to create balance and symmetry in the frame. What feels slightly off in real life often looks perfect in photos.
8. Keep a Consistent Style Across the Home
Your listing should feel cohesive from one photo to the next. Mixing styles can confuse buyers and weaken the overall impression. Keep colors, materials, and décor aligned for a smoother visual experience.
9. Turn Off Screens and Check Reflections
Screens and reflective surfaces can ruin otherwise great photos. Turn off TVs, laptops, and check mirrors or glass surfaces before shooting. This small step keeps your real estate photos clean and professional.
Common Mistakes When Staging a Home for Photos
Over-decorating that clutters the space and distracts buyers.
Poor lighting that creates dark spots or uninviting rooms.
Leaving personal items such as family pictures and everyday items on display.
Ignoring photo angles that highlight the best features.
Inconsistent style between rooms that confuses potential buyers.

FAQ
Absolutely! Many sellers successfully stage their homes using simple decluttering, cleaning, and neutral styling techniques. Focus on key areas like the living room and kitchen, and consider borrowing or renting items to enhance the look.
Bottom Line
Staging your home for sale photos is a powerful way to attract more buyers and achieve a better final sale price. By decluttering, deep cleaning, maximizing natural light, and styling with neutral tones and minimal décor, you can create a welcoming atmosphere that helps potential buyers envision themselves living in your home.
Collaborate with a professional home stager, real estate agent, and photographer to ensure your property shines in the competitive market. Start staging your home today and watch your listing stand out among properties online!

Casapic Team
1 April 2026
Immobilier
How to Write a Property Listing Description That Actually Sells (2026)
Craft compelling property listings that engage buyers. Learn essential tips to showcase your property effectively. Read the article for practical advice!Casapic Team
Apr 8, 2026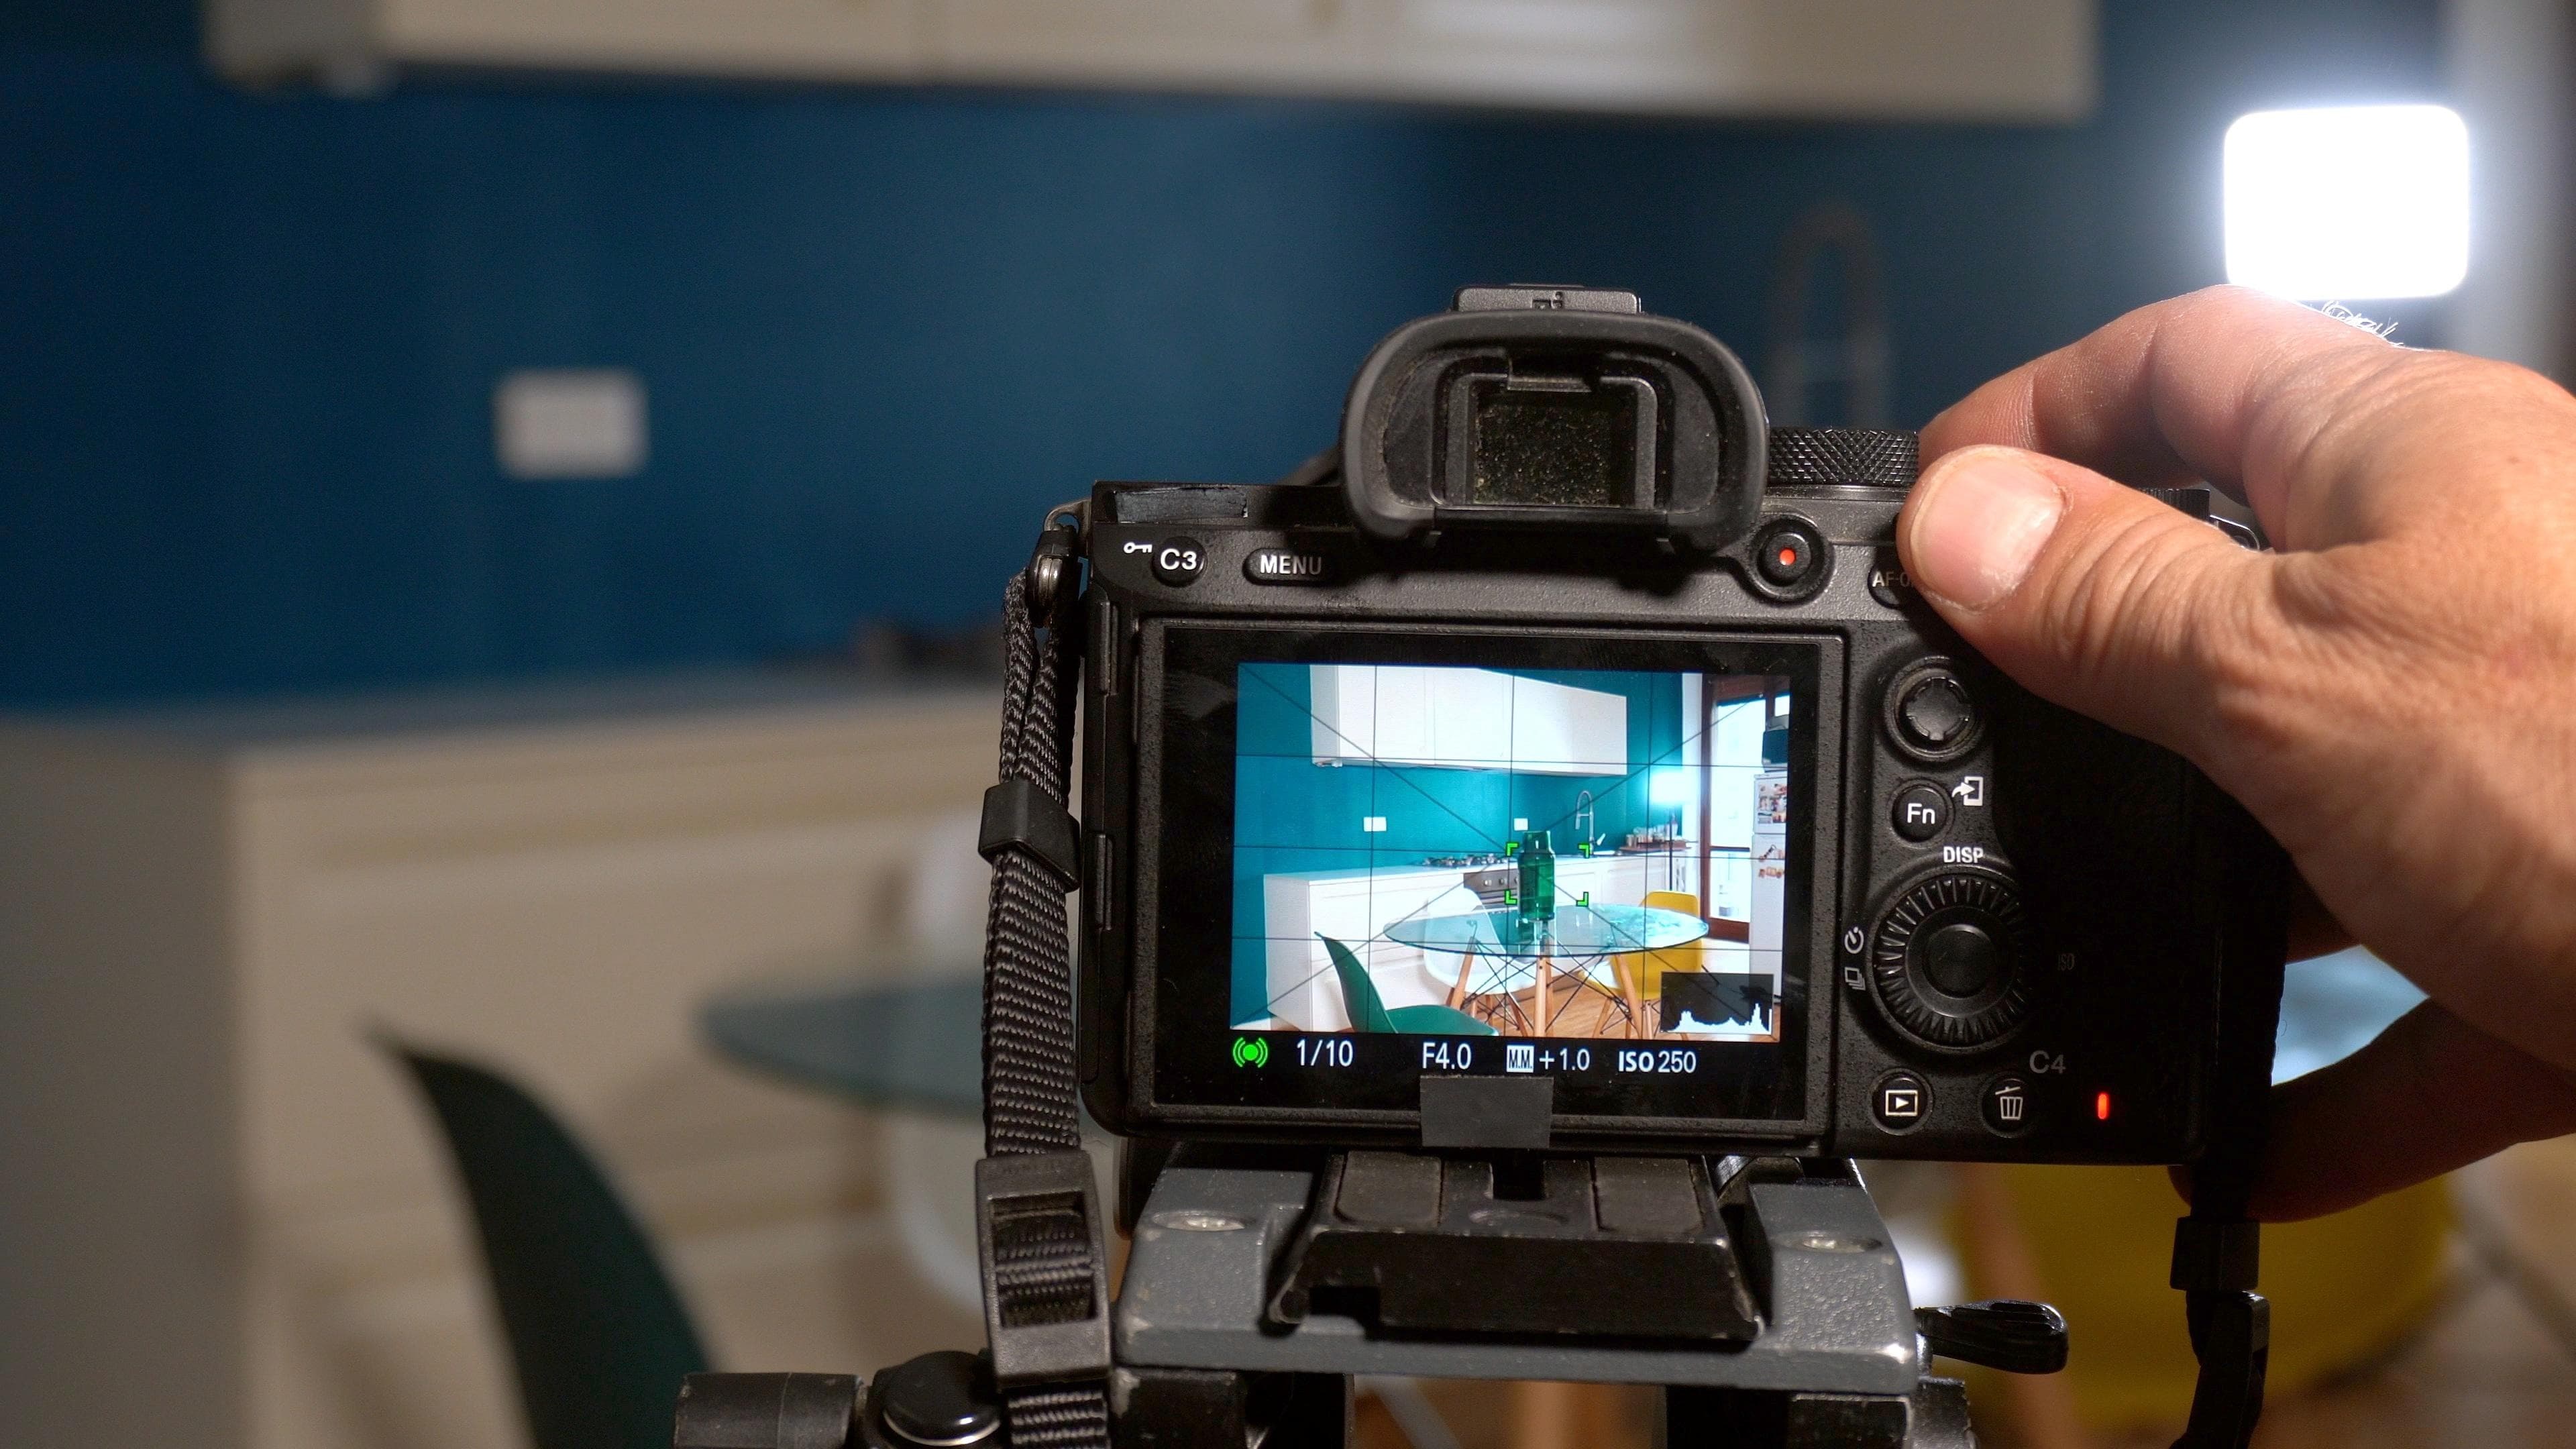
Immobilier
Real Estate Photo Editing Tips: How to Make Listings Stand Out (2026)
Enhance your real estate listings with essential photo editing tips. Make your images pop and attract more buyers. Read the article for practical advice!Casapic Team
Mar 24, 2026
Immobilier
Does Switzerland Have Property Taxes? A Clear Overview for Homeowners
Discover the essentials of property taxes in Switzerland. Understand what homeowners need to know and how it impacts your real estate decisions. Read more!Casapic Team
Mar 18, 2026